
{Series} Home Lab - Part 2: Docker, Dockage, and Your First Service
Deploy Docker, set up Dockage for clean stack management, and spin up your first local Ghost blog on your Debian home lab server.
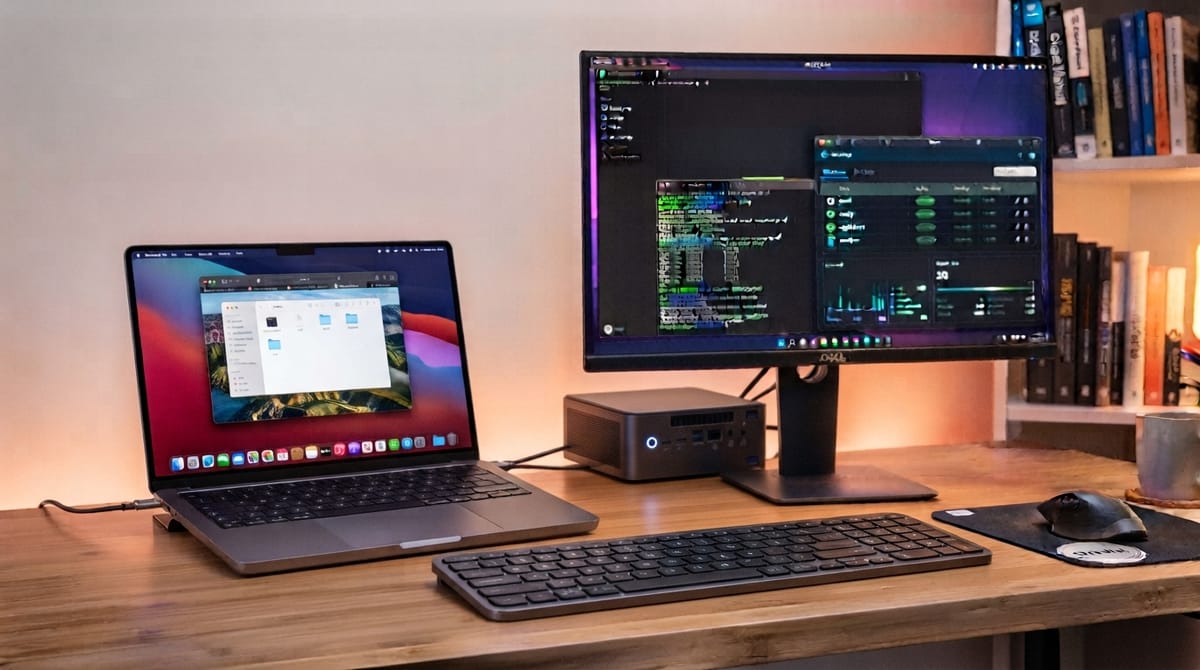
Series: Home Lab on an Intel NUC
Prev: Part 1: Securing SSH & Cockpit
In Part 1, we locked down our Debian server with certificate-only SSH access, set up Cockpit for web-based monitoring, and configured Telegram alerts. Now comes the fun part: running services.
Instead of installing applications directly onto the host operating system—which can cause dependency conflicts and clutter—we will use Docker to containerize everything. To make managing containers easier without relying solely on the command line, we will also install Dockage as a lightweight local dashboard, followed by our first real service: a self-hosted Ghost blog running completely locally.
Step 1: Install Docker and Docker Compose
Docker allows us to run isolated applications inside lightweight containers. Let's install the official Docker engine and Docker Compose plugin on Debian.
1.1 Add Docker's Official GPG Key and Repository
First, update your package index and install required prerequisites:
apt update
apt install -y ca-certificates curl gnupg
Create the directory for the keyring and add Docker's official GPG key:
install -m 0755 -d /etc/apt/keyrings
curl -fsSL https://download.docker.com/linux/debian/gpg | gpg --dearmor -o /etc/apt/keyrings/docker.gpg
chmod a+r /etc/apt/keyrings/docker.gpg
Set up the stable Docker repository:
echo \
  "deb [arch=\"$(dpkg --print-architecture)\" signed-by=/etc/apt/keyrings/docker.gpg] https://download.docker.com/linux/debian \
  \"$(. debian/release; echo \"$VERSION_CODENAME\")\" stable" | \
  tee /etc/apt/sources.list.d/docker.list > /dev/null
1.2 Install Docker Engine and Compose
Update your package list again to recognize the new repository, then install Docker and the Compose plugin:
apt update
apt install -y docker-ce docker-ce-cli containerd.io docker-buildx-plugin docker-compose-plugin
Verify that Docker is running correctly:
systemctl status docker
Step 2: Install Dockage for Visual Stack Management
Managing multiple Docker Compose files via terminal can become tedious. Dockage is a lightweight, clean web-based dashboard designed specifically to manage Docker stacks, images, containers, and volumes easily.
2.1 Set Up a Home Lab Directory Structure
Let's organize our projects cleanly on the server. We will create a central home lab directory:
mkdir -p /opt/homelab/dockage
cd /opt/homelab/dockage
2.2 Create the Dockage Compose File
Create a docker-compose.yml file for Dockage:
nano docker-compose.yml
Paste the following configuration:
version: "3.8"

services:
  dockage:
    image: dockage/dockage:latest
    container_name: dockage
    restart: unless-stopped
    ports:
      - "7000:7000"
    volumes:
      - /var/run/docker.sock:/var/run/docker.sock
      - dockage_data:/app/data

volumes:
  dockage_data:
2.3 Launch Dockage
Spin up the stack in detached mode:
docker compose up -d
Open your browser and navigate to your NUC's IP address on port 7000:
http://<NUC-IP>:7000
You will see the Dockage dashboard, giving you instant visibility over your running containers, volumes, and system resources.
Step 3: Deploy Your First Service — Local Ghost Blog
Now that our environment is ready, let's deploy our first real application: a self-hosted Ghost blog instance. For now, we will keep it running locally so we can test and write privately before exposing it to the world in later parts of the series.
3.1 Create a Ghost Directory
Navigate to your lab directory and create a folder for Ghost:
mkdir -p /opt/homelab/ghost
cd /opt/homelab/ghost
3.2 Create the Ghost Compose File
Create your docker-compose.yml file:
nano docker-compose.yml
Paste the following configuration, which pairs Ghost with a lightweight SQLite backend for easy local self-hosting:
version: "3.8"

services:
  ghost:
    image: ghost:latest
    container_name: ghost-blog
    restart: unless-stopped
    ports:
      - "2368:2368"
    environment:
      # Set your local development or staging URL
      - url=http://<NUC-IP>:2368
      - database__client=sqlite3
      - database__connection__filename=/var/lib/ghost/content/data/ghost.db
    volumes:
      - ghost_content:/var/lib/ghost/content

volumes:
  ghost_content:
(Make sure to replace <NUC-IP> with your actual NUC local IP address).
3.3 Start the Ghost Container
Launch your new blog stack:
docker compose up -d
Once running, open your browser and visit:
http://<NUC-IP>:2368
To access the admin dashboard to start writing, go to:
http://<NUC-IP>:2368/ghost/
Summary
You have successfully transformed your secure Debian server into a dynamic application host:
- Installed Docker and Docker Compose for clean containerization
- Deployed Dockage at port
7000for visual stack management - Launched your first self-hosted Ghost blog at port
2368