
{Series} Home Lab - Part 3: Pi-hole, Caddy & Local DNS
Take your self-hosted infrastructure to the next level by deploying Pi-hole for network-wide ad blocking and Caddy as a lightning-fast reverse proxy using Dockage.
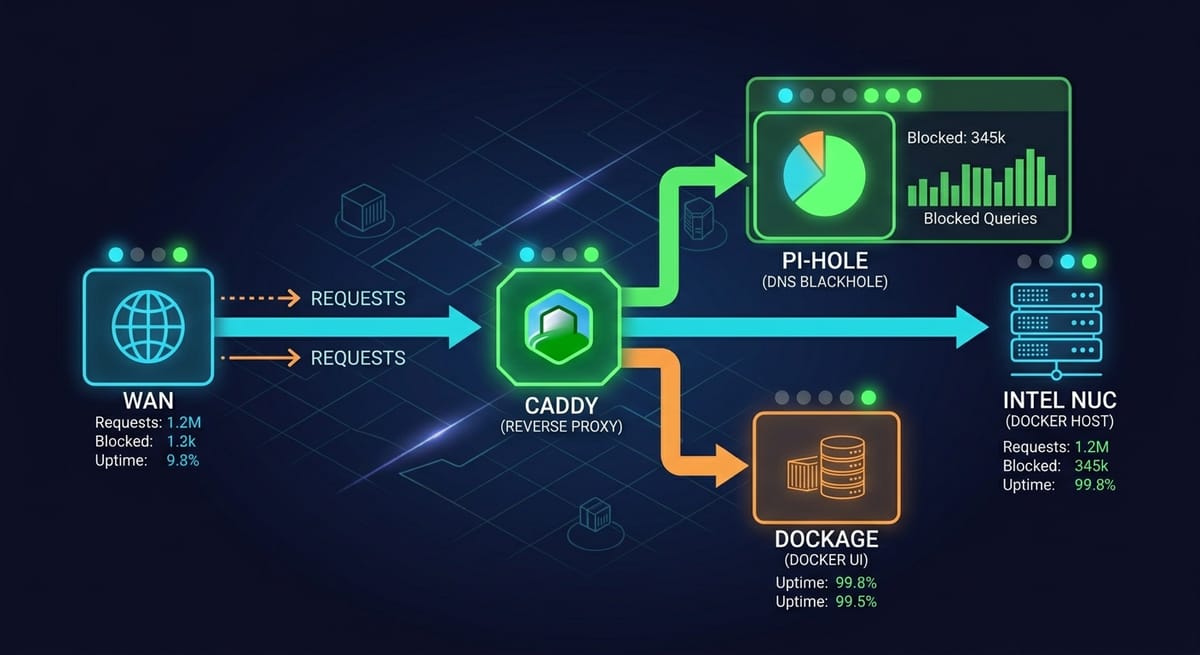
Series: Home Lab on an Intel NUC
Prev: Home Lab - Part 2: Docker, Dockage, and Your First Service
In Part 2, we containerized our Debian server, set up Dockage for visual management, and deployed our local Ghost blog. Right now, however, accessing our services requires remembering port numbers like :7000 for Dockage or :2368 for Ghost, and our browser throws untrusted connection warnings because we aren't using TLS certificates yet.
In this part, we are going to fix both issues using our Dockage web dashboard:
- Deploy Pi-hole to handle network-wide ad blocking and act as our local DNS resolver.
- Configure Caddy as a lightweight reverse proxy to route clean, human-readable local domains (e.g.,
dockage.home.arpa) to our containers. - Set up trusted local TLS certificates so our home lab runs securely over HTTPS without browser warnings.
Step 1: Deploy Pi-hole via Dockage
Pi-hole gives us two huge wins: network-wide ad and tracker blocking, and a custom local DNS resolver so we can map clean domain names to our NUC's IP addresses.
1.1 Create the Pi-hole Stack Directory on the Server
SSH into your NUC and create a dedicated directory for Pi-hole inside our lab structure:
mkdir -p /opt/homelab/pihole
cd /opt/homelab/pihole
1.2 Create the Pi-hole Compose File
Create a docker-compose.yml file for Pi-hole:
nano docker-compose.yml
Paste the following configuration:
services:
  pihole:
    image: pihole/pihole:latest
    container_name: pihole
    environment:
      - TZ=Europe/Amsterdam
      - WEBPASSWORD=your_secure_admin_password
    volumes:
      - ./etc-pihole:/etc/pihole
      - ./etc-dnsmasq.d:/etc-dnsmasq.d
    ports:
      - "53:53/tcp"
      - "53:53/udp"
      - "8080:80"
    restart: unless-stopped
(We map Pi-hole's web interface to port 8080 to avoid conflicts with our reverse proxy later).
1.3 Spin Up Pi-hole Using Dockage
Instead of running docker compose up in the terminal, let's manage it visually:
- Open your browser and navigate to your Dockage dashboard:
http://<NUC-IP>:7000 - Click on Stacks -> Create Stack (or Add Stack).
- Name your stack
piholeand point it to or paste the configuration for/opt/homelab/pihole/docker-compose.yml. - Click Deploy / Start.
Open your browser and visit the admin panel at:
http://<NUC-IP>:8080/admin
Log in using the password you set in the environment variables. Once running, configure your router's primary DNS server to point to your NUC's IP address so all devices on your network benefit from ad blocking and local DNS resolution.
Step 2: Configure Local DNS Records (Two Approaches)
To make our services accessible via clean domain names instead of IP addresses and ports, we need Pi-hole to resolve our custom .home.arpa domain.
You have two options for handling this: Option A is great if you only have a couple of services and prefer managing records visually through the UI. Option B (Wildcard DNS) uses Pi-hole's underlying dnsmasq engine to automatically resolve any subdomain under .home.arpa to your NUC, saving you from ever touching the DNS menu again when adding new containers.
Choose the approach that best fits your workflow:
Option A: Manual Individual Records (Pi-hole Web UI)
If you prefer managing records manually one by one:
- Navigate to Local DNS -> DNS Records in the Pi-hole web interface.
- Add the following domain mappings pointing to your NUC's local IP address:
dockage.home.arpa-><NUC-IP>ghost.home.arpa-><NUC-IP>cockpit.home.arpa-><NUC-IP>
Now, any device using Pi-hole as its DNS server can resolve these domains directly to your NUC.
Option B: Wildcard DNS via dnsmasq (Recommended for Expansion)
If you plan on expanding your home lab and spinning up containers frequently, adding individual records gets tedious. We can configure a wildcard DNS record (*.home.arpa) using Pi-hole's built-in dnsmasq directory (./etc-dnsmasq.d) which we already mounted in our compose file.
- Save and exit (
Ctrl+O,Enter,Ctrl+X), then restart your Pi-hole container via the Dockage dashboard (Stacks -> pihole -> Restart / Recreate) fordnsmasqto pick up the changes.
Add the wildcard rule, replacing <NUC-IP> with your actual server's local IP address:
address=/home.arpa/<NUC-IP>
Create a custom configuration file named 02-wildcard.conf inside your mapped etc-dnsmasq.d directory:
nano etc-dnsmasq.d/02-wildcard.conf
On your NUC, navigate to your Pi-hole stack directory:
cd /opt/homelab/pihole
With this wildcard active, any subdomain (e.g., anything.home.arpa) will instantly resolve to your NUC.
Step 3: Set Up Caddy as an Internal Reverse Proxy & TLS Terminator
Instead of typing http://<NUC-IP>:7000, we want to visit https://dockage.home.arpa. To achieve this, we will use Caddy, a modern web server and reverse proxy that handles HTTPS automatically, managed right through Dockage.
3.1 Create the Caddy Directory
mkdir -p /opt/homelab/caddy
cd /opt/homelab/caddy
3.2 Create the Caddy Compose File
Create your docker-compose.yml file:
nano docker-compose.yml
Paste the following configuration:
services:
  caddy:
    image: caddy:latest
    container_name: caddy
    restart: unless-stopped
    ports:
      - "80:80"
      - "443:443"
    volumes:
      - ./Caddyfile:/etc/caddy/Caddyfile
      - caddy_data:/data
      - caddy_config:/config

volumes:
  caddy_data:
    name: caddy_data
  caddy_config:
    name: caddy_config
3.3 Write the Caddyfile
Create the configuration file that tells Caddy how to route incoming requests:
nano Caddyfile
Paste the following rules, routing our local domains to their respective backend container ports:
dockage.home.arpa {
    reverse_proxy <NUC-IP>:7000
}

ghost.home.arpa {
    reverse_proxy <NUC-IP>:2368
}

cockpit.home.arpa {
    reverse_proxy https://<NUC-IP>:9090 {
        transport {
            tls_insecure_skip_verify
        }
    }
}
(Note: Cockpit runs on HTTPS by default with a self-signed certificate, so tls_insecure_skip_verify tells Caddy to accept its self-signed backend cert safely).
3.4 Launch Caddy via Dockage
- Head back to your Dockage dashboard at
http://<NUC-IP>:7000. - Click Create Stack and name it
caddy. - Provide the path or paste your
docker-compose.ymlcontents for Caddy. - Hit Deploy.
Summary
You have successfully upgraded your home lab network architecture using visual stack management:
- Installed Pi-hole via Dockage at port
8080for network-wide ad blocking and custom local DNS resolution (.home.arpa). - Configured Local DNS mappings via manual UI records or automated wildcard
dnsmasqrules so your containers have clean, human-readable domain names. - Deployed Caddy through Dockage as a reverse proxy to route traffic cleanly and terminate TLS for your internal services.