
{Series} Home Lab on an Intel NUC
Welcome to my home lab series. The goal is simple. Take a plain and headless Linux machine and turn it into a fully functional home lab with self hosted services, secure remote access, monitoring, and protection. You can do this all step by step with just an SSH client and a little patience.
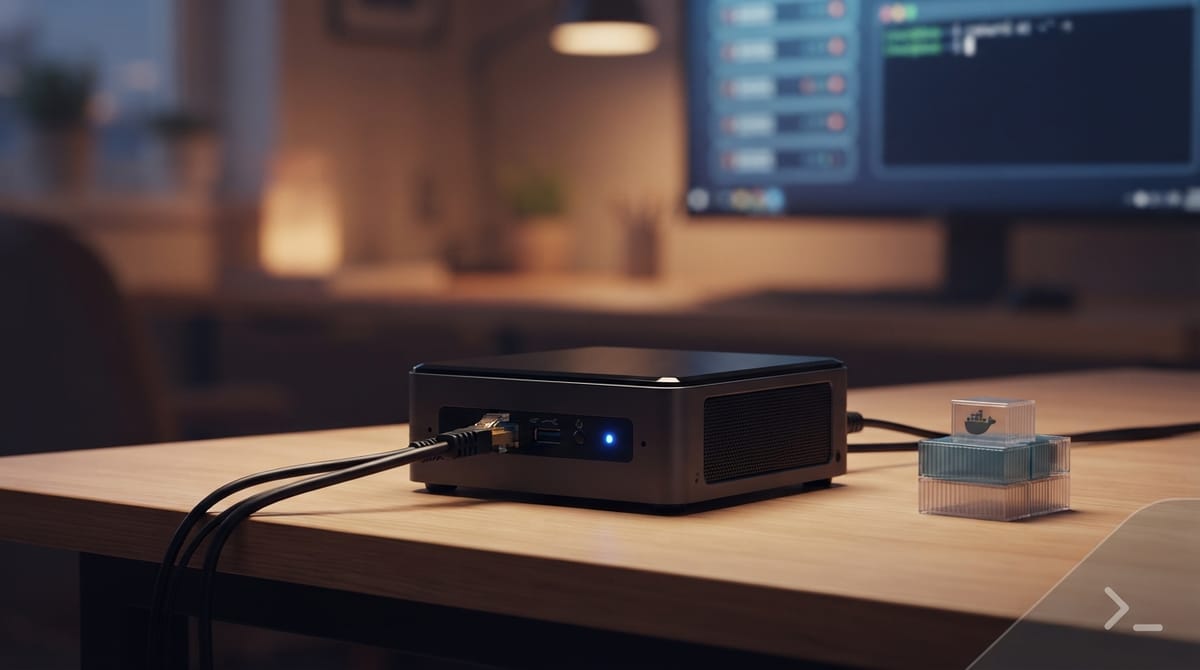
From a Bare Debian Box to a Fully Fledged Homelab
Welcome to my homelab series. The goal is simple. Take a plain and headless Linux machine and turn it into a fully functional homelab with self hosted services, secure remote access, monitoring, and protection. You can do this all step by step. No prior sysadmin experience is required. You just need patience and an SSH client.
The Hardware
Everything here runs on a modest but very capable machine:
- Machine: Intel NUC10i5FNK (i5, 10th gen)
- RAM: 16 GB
- Storage: Samsung 256 GB NVMe SSD
- OS: Debian (latest stable)
- Display: None - fully headless
- Network: Direct Ethernet to LAN
- Access: SSH + Web controls
That is it. It is just a silent little box sitting in a corner. If you can SSH into a machine, you can follow along with everything in this series.
What This Series Will Not Cover
- Debian installation: There are already excellent guides for this. You can start with the Official Debian Installation Guide and install Debian onto your NUC or any machine with SSH enabled.
- Buying hardware recommendations: You should use whatever you have available. A spare laptop or an old desktop works just as well.
We start right from the moment your machine boots into a fresh Debian install and is reachable over SSH on your LAN.
The Roadmap
Here is the full journey, blog by blog:
Part 1 - Lock It Down and Set Up Management
- Set up SSH with certificate only access for root so you never use passwords.
- Install Cockpit for a clean web based admin view.
- Add a script that sends a Telegram notification on every login attempt for both success and failure so you always know who is touching your box.
Part 2- Docker, Dockage, and Your First Service
- Install Docker and Docker Compose.
- Deploy Dockage to visually manage your stacks.
- Stand up a Ghost blog that stays local only for now.
Part 3 - Pi-hole and Internal Reverse Proxy
- Set up Pi-hole for network wide ad blocking.
- Introduce Caddy to act as a reverse proxy for internal traffic.
- Serve everything under your local domain with trusted TLS certificates.
Part 4 - Going Public with Cloudflare Tunnel
- Take a deep dive into Caddy as a full reverse proxy.
- Set up a Cloudflare Tunnel using cloudflared to expose services to the internet without opening a single port on your router.
- Map real domain names to your local services.
Part 5 and Beyond - Hardening and Monitoring
- Use CrowdSec for crowdsourced intrusion detection and blocking.
- Configure
firewalldrules to tighten up the box. - Set up
Uptime Kumafor beautiful and self hosted uptime monitoring.
Why Follow Along?
By the end of this series you will have:
- A hardened and headless Debian server
- Containerized services managed from a friendly UI
- An ad blocking DNS layer for your whole network
- A real and publicly accessible blog or homelab with your IP hidden
- Intrusion detection, firewall rules, and uptime monitoring
All of this runs on hardware that sips power and fits right in the palm of your hand.
Next up: Part 1: Securing SSH, Cockpit, and Login Notifications
See you in the next post!